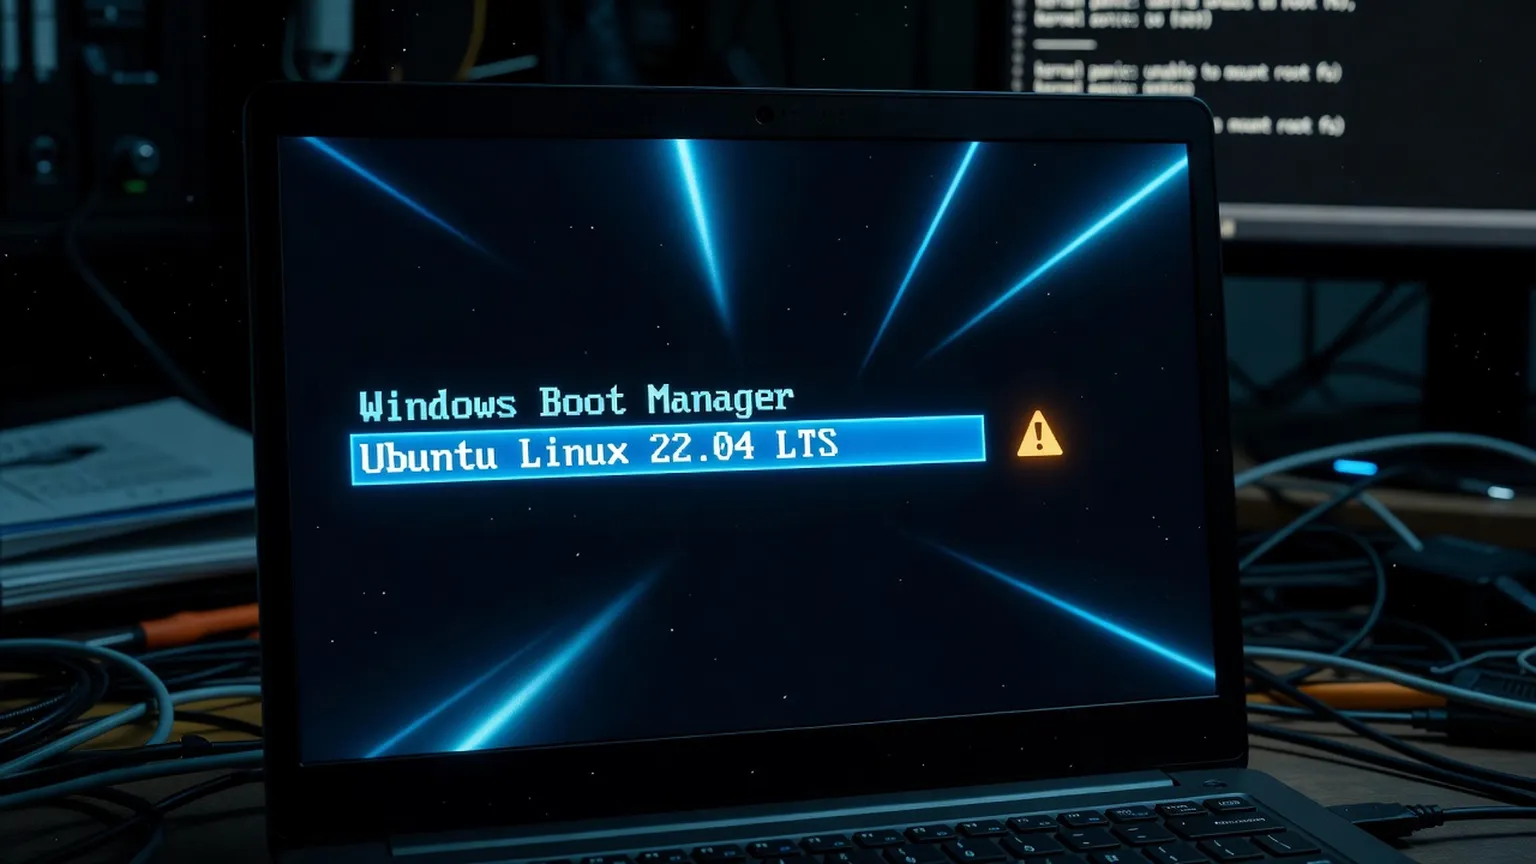
Dual booting Linux and Windows used to be a genuinely risky weekend project. In 2026, it’s a routine setup that most beginners can complete in under an hour — provided they understand a handful of things that trip people up every time: Secure Boot, BitLocker, fast startup, and how GRUB actually finds both operating systems. This guide assumes you’re already comfortable with the basic install flow — for the full step-by-step walkthrough of partitioning and running the installer for the first time, see our complete dual-boot setup guide. This article goes deeper: it spends real time on the errors that actually happen after setup, because that’s where most dual-boot guides fall short.
Why Dual Boot Linux and Windows in 2026
Dual booting means installing two operating systems on the same machine and choosing which one to start each time you power on. It remains the most practical option for people who need Windows for specific software (games, professional tools, work requirements) but want the real Linux experience — not a virtual machine — for daily use, development, or learning.
Compared to running Linux in a virtual machine, dual booting gives you:
- Full hardware access — your GPU, all your RAM, and native disk speed, with no virtualization overhead
- A genuine Linux experience — useful if you’re evaluating Linux as your primary distribution before committing fully
- Independent systems — a problem in Windows doesn’t affect your Linux install, and vice versa
- No licensing complications — unlike running Windows inside a Linux VM, which needs a valid Windows license anyway
The tradeoff is that dual boot requires more care during setup than a VM, since you’re modifying the actual partition table of your main drive. That’s exactly why this guide spends so much time on the preparation steps before you touch an installer.
It’s also worth being honest about who dual boot is and isn’t for. If you only need Linux occasionally — testing a command, trying a tool, following a tutorial — a virtual machine or even a live USB session without installing anything is simpler and carries zero risk to your existing Windows setup. Dual boot makes the most sense when you expect to use Linux regularly enough that VM overhead (slower disk access, no native GPU acceleration, shared RAM with the host) would genuinely bother you.
Tip: If you’re not sure whether you want to commit to dual boot yet, try Linux from a live USB first (no installation) to check that your Wi-Fi, graphics, and touchpad work well on your specific hardware. Most 2026-era distributions handle this out of the box, but it’s worth five minutes of checking before you repartition anything.
Before You Start: Backing Up Your Data
This is the step people skip and regret. Before touching partitions:
- Back up your important files to an external drive or cloud storage — documents, photos, project files, browser bookmarks and passwords if not synced elsewhere.
- Locate your Windows recovery key if BitLocker is enabled (Settings > Privacy & Security > Device Encryption, or your Microsoft account online).
- Create a Windows recovery USB in case something goes wrong with the Windows bootloader during the process.
- Write down your Wi-Fi password if it’s only saved on the machine — you’ll want it for the Linux installer too.
For a deeper look at backup strategy beyond this one-time precaution, see our guide on Linux backup solutions with rsync and Timeshift — the same snapshot principles apply just as well before a Windows repartition.
Preparing Windows for Dual Boot
Three Windows-specific settings cause the overwhelming majority of dual-boot problems. Fix them before you install Linux, not after.
Disable Fast Startup
Fast startup is a hybrid hibernation mode that keeps parts of the Windows kernel loaded between “shutdowns” to speed up the next boot. The problem: it leaves the Windows file system in a state that Linux can’t safely read or write to, and it can confuse GRUB about which operating systems exist.
To disable it: Control Panel > Power Options > Choose what the power buttons do > Change settings that are currently unavailable, then uncheck “Turn on fast startup.”
Suspend or Decrypt BitLocker
If BitLocker is active on your Windows drive, resizing the partition can trigger a recovery key prompt. Suspend it temporarily from Settings > Privacy & Security > Device Encryption before you shrink anything, and keep the recovery key handy regardless.
Shrink the Windows Partition
Open Disk Management (right-click the Start button, choose Disk Management), right-click your main Windows partition, and select Shrink Volume. Enter the amount of space you want to free up for Linux in megabytes.
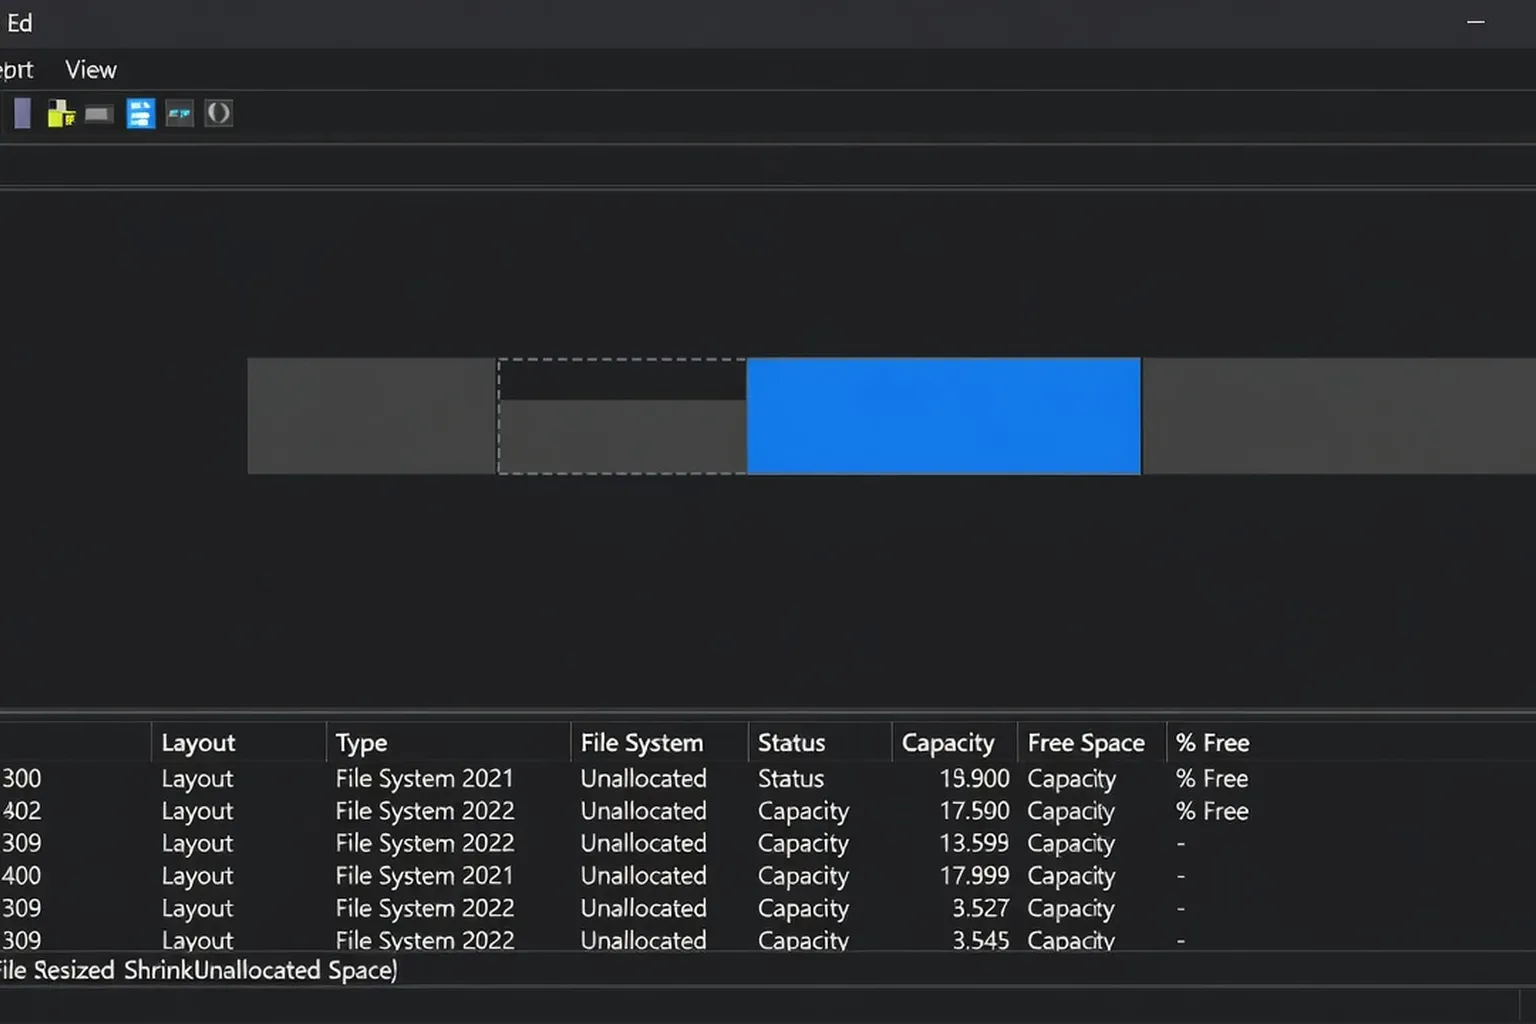
Warning: Do not use third-party partition tools to shrink Windows before installing Linux unless you’re already comfortable with disk partitioning. Windows’ own Disk Management is the safest option because it correctly handles the file system boundaries; some third-party tools have historically caused NTFS corruption when interrupted mid-operation.
Choosing a Linux Distribution for Dual Boot
Not every distribution handles dual boot installation with the same level of polish. Some detect Windows automatically and offer a guided “Install alongside Windows” option; others expect manual partitioning from the start.
| Distribution | Dual-boot installer experience | Best for |
|---|---|---|
| Ubuntu | Automatic Windows detection, one-click “Install alongside” option | Beginners, most laptops |
| Linux Mint | Same installer as Ubuntu, very polished dual-boot flow | Beginners coming from Windows |
| Fedora | Detects Windows, slightly more manual partition review | Users wanting a more current kernel/software stack |
| Pop!_OS | Excellent dual-boot support, especially on Nvidia hardware | Gaming and Nvidia GPU laptops |
| Arch-based distros | Manual partitioning only, no guided dual-boot wizard | Experienced users only |
If you’re still deciding between distributions generally, our guide on which Linux distribution to choose in 2026 covers the broader tradeoffs beyond dual-boot support specifically. And if your laptop is on the older or lower-spec side, it’s worth checking our comparison of the best Linux distributions for old laptops before deciding — a heavier distribution running alongside Windows on already-limited hardware can make both operating systems feel slower than expected.
Creating a Bootable USB Installer
You’ll need a USB drive of at least 8 GB and a tool to write the ISO image correctly:
- Download the ISO for your chosen distribution from its official site.
- Use a dedicated flashing tool (Rufus on Windows, or
dd/Etcher if you already have Linux access) rather than simply copying the file — ISOs need to be written in a specific bootable format. - Boot from the USB by entering your BIOS/UEFI boot menu, usually with F2, F10, F12, Esc, or Delete depending on your laptop manufacturer.
- Choose “Try or Install” rather than “Install” directly if you want to test hardware compatibility first.
Partitioning During Linux Installation
When the installer reaches the partitioning step, most modern distributions offer three options:
- Install alongside Windows Boot Manager — the safest and easiest choice for beginners. The installer automatically creates the needed partitions in your free space and configures GRUB.
- Erase disk and install — only choose this if you genuinely want to remove Windows entirely.
- Manual partitioning — for users who want a specific layout (separate
/home, custom swap size, or an existing partition scheme).
For a first dual-boot setup, “Install alongside Windows Boot Manager” handles nearly everything correctly and is the recommended path. If you want to understand exactly what’s happening under the hood — root, home, swap, and how Linux organizes storage — our guide to understanding the Linux file system explains the structure the installer is creating for you.
Understanding GRUB and the Boot Order
GRUB (GRand Unified Bootloader) is what actually shows you the menu to choose Windows or Linux at startup. When Linux is installed alongside Windows, the installer replaces the Windows Boot Manager with GRUB as the first thing your computer loads, and GRUB then hands off to either the Linux kernel or the Windows Boot Manager depending on your choice.
Key things to know about GRUB in a dual-boot setup:
- It scans for other operating systems during installation and during
update-grubruns. - Its configuration lives in
/boot/grub/grub.cfg, generated automatically — you should never edit this file directly. - Custom entries and settings go in
/etc/default/grub, followed by runningsudo update-grub(Debian/Ubuntu) to regenerate the config. - The default boot order and timeout can be changed here too, which is useful if you want Windows to boot by default with Linux as the alternative.
A useful mental model: GRUB doesn’t “contain” Windows or Linux — it’s simply a menu that points to where each operating system’s own bootloader already lives on disk. Windows keeps its own Windows Boot Manager; GRUB’s job in a dual-boot setup is just to detect it and offer it as a menu option alongside your Linux kernel. This is why reinstalling or repairing GRUB never touches your Windows installation itself — it only rebuilds the menu that points to it.
Common Dual-Boot Errors and How to Fix Them
This is the part most guides skip. Here are the errors people actually hit, and the fix for each one.
- “Windows Boot Manager” is missing from the GRUB menu. Boot into Linux, run
sudo os-proberfollowed bysudo update-grub. If Windows still doesn’t appear, it usually means Windows was installed in Legacy BIOS mode while Linux was installed in UEFI mode (or vice versa) — both operating systems need to use the same boot mode. - Computer boots straight to Windows, skipping GRUB entirely. This usually means Windows Boot Manager reclaimed priority in the UEFI boot order, often after a Windows update. Enter your BIOS/UEFI boot menu and manually set GRUB (often listed as “ubuntu” or your distribution’s name) as the first boot option.
- “error: no such partition” at boot. GRUB’s configuration is pointing to a partition UUID that no longer matches your disk, often after resizing partitions later. Boot from a live USB, mount your Linux partition, and run
grub-installandupdate-grubfrom a chroot environment. - BitLocker recovery screen appears after installing Linux. This happens when the partition resize during installation triggered BitLocker’s tamper detection. Enter your recovery key once, then suspend BitLocker again before making any further partition changes.
- Black screen instead of GRUB menu. Often a graphics compatibility issue with the boot splash rather than GRUB itself. Try pressing Esc repeatedly right after power-on, or check whether the “Secure Boot and dual boot” section below applies to your hardware.
Note: If none of these match what you’re seeing, boot-repair tools available on most live USB environments (search your distribution’s live session for “Boot Repair”) diagnose and fix the large majority of GRUB-related dual-boot failures automatically, without requiring manual command-line repair.
Secure Boot and Dual Boot: What Actually Matters
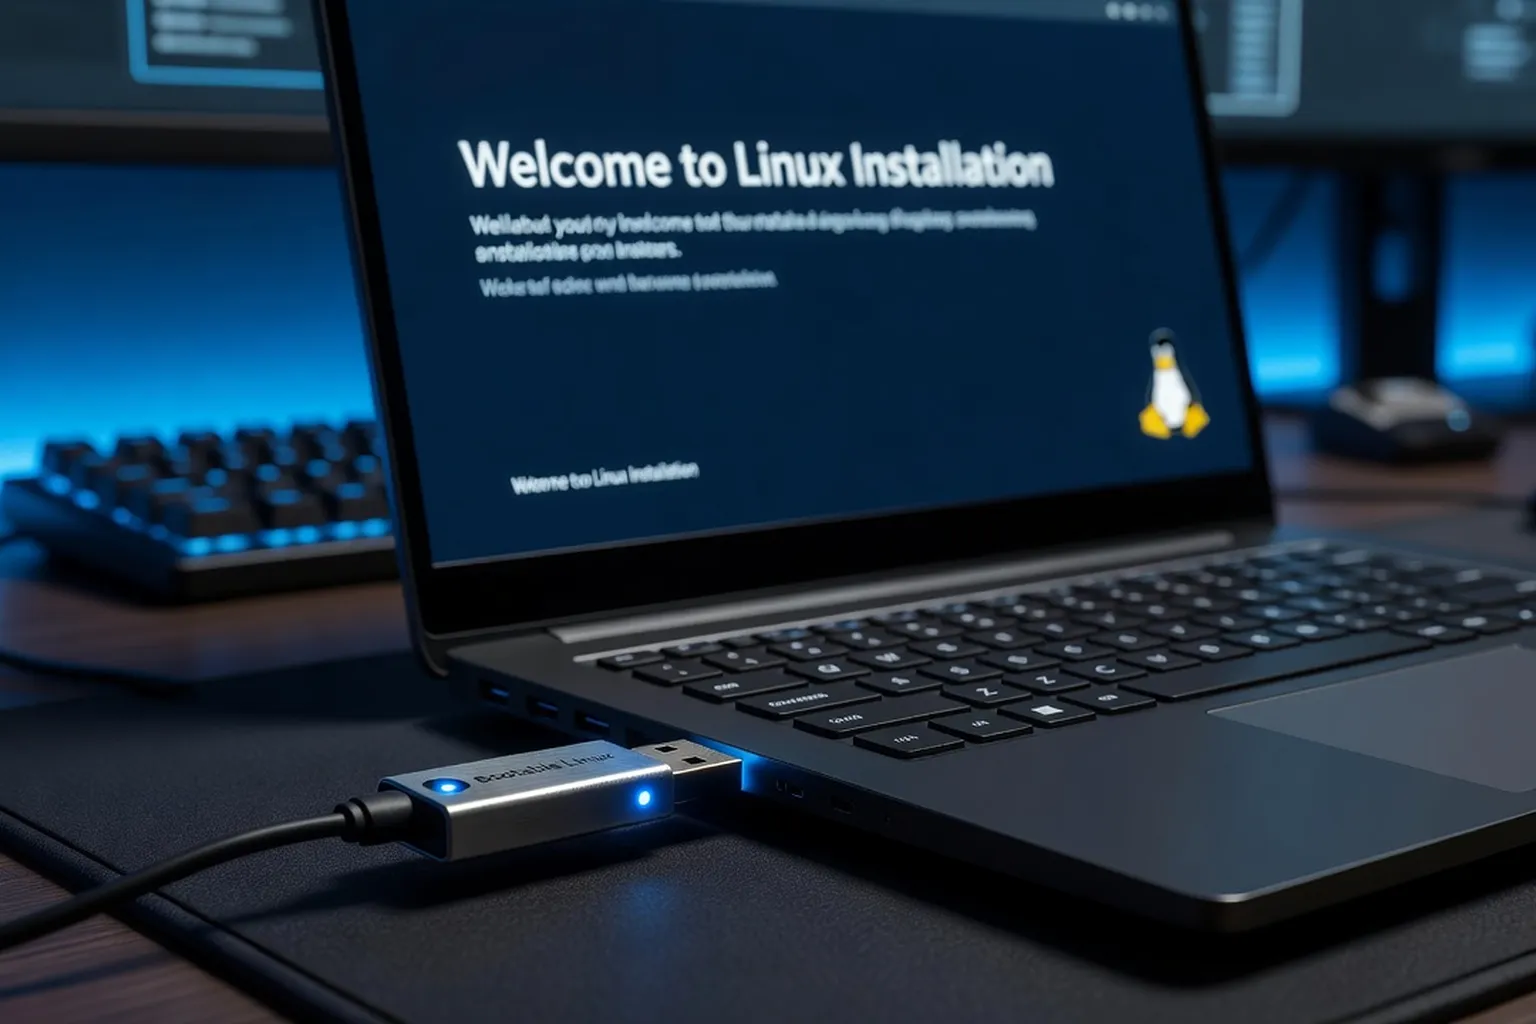
Secure Boot is a UEFI firmware feature that only allows cryptographically signed bootloaders to run, intended to block unauthorized bootkits and rootkits. It causes far less trouble in 2026 than it did a decade ago:
- Ubuntu, Fedora, Linux Mint, Pop!_OS, and most mainstream distributions ship a Microsoft-signed “shim” bootloader that works with Secure Boot enabled by default.
- You generally do not need to disable Secure Boot for a standard dual-boot setup with these distributions.
- Some niche or rolling-release distributions (certain Arch-based spins, for example) do not support shim signing and will require disabling Secure Boot in your UEFI settings.
- If your installer or boot process throws a “Verification failed” or similar signature error, that’s the specific signal that Secure Boot is the culprit — not general boot problems, which usually have other causes.
Keeping Both Systems Updated Safely
Once dual boot is running, both systems need regular maintenance:
- Run Linux updates regularly (
sudo apt update && sudo apt upgradeon Debian/Ubuntu-based systems, or your distribution’s equivalent) — this also keeps GRUB definitions current if kernels change. - Let Windows Update run normally; it will not remove GRUB in the vast majority of cases in 2026, though it’s still worth checking your boot order after major Windows feature updates specifically.
- After any Windows feature update, boot into Linux once and run
sudo update-grubas a precaution — this refreshes the Windows Boot Manager entry if its location changed. - Keep a Timeshift snapshot before major Linux updates so you can roll back if a kernel update causes boot problems (see the boot troubleshooting guide for what to do if a kernel update actually breaks boot).
- Since a dual-boot machine is also a machine you’ll likely use online right away, it’s worth applying our Linux security basics checklist once your install is stable — firewall, SSH and update settings are easy to configure correctly from day one rather than retrofitting later.
Partition Size Reference
Deciding how much space to allocate can feel arbitrary the first time. Here’s a practical reference based on intended usage:
| Usage profile | Recommended Linux partition size | Notes |
|---|---|---|
| Occasional testing / learning | 40-60 GB | Enough for the OS, updates, and light software |
| Regular secondary use (browsing, documents, light dev) | 80-120 GB | Comfortable headroom for a growing /home |
| Primary daily driver alongside Windows | 150-250 GB | Separate /home partition recommended for flexibility |
| Development-heavy workloads (containers, VMs, large repos) | 250 GB+ | Consider a dedicated data partition beyond the base install |
As a rule of thumb, it’s easier to allocate slightly more space upfront than to resize partitions again later — resizing is usually safe with modern tools, but it’s still an operation best done sparingly rather than repeatedly.
Removing a Dual Boot Setup Cleanly
If you eventually decide dual boot isn’t for you, remove it properly rather than simply deleting the Linux partition, which leaves Windows unable to boot (since GRUB is currently your bootloader):
- Boot into Windows (if GRUB still allows it) or from a Windows recovery USB.
- Use Disk Management to delete the Linux partitions and extend the Windows partition into the freed space.
- Restore the Windows Boot Manager as the primary bootloader by running, from a Windows recovery environment command prompt:
bootrec /fixmbrandbootrec /fixboot. - Reboot — Windows should now boot directly without showing GRUB.
Dual booting Linux and Windows in 2026 is a well-trodden path with predictable failure modes, all of which have known fixes. Back up first, disable fast startup and suspend BitLocker before repartitioning, and let the installer’s “Install alongside Windows” option do the heavy lifting. When something does go wrong, it’s almost always one of the five errors covered above — not a sign that dual boot itself is fragile.
For readers who prefer filesystems with built-in snapshot and rollback capabilities as an extra safety net around repartitioning, partitioning strategies with modern filesystems on freebsd-howto.com walks through how ZFS snapshots make this kind of operation far more forgiving — concepts that translate conceptually to Linux’s own snapshot tools like Timeshift and Btrfs. And if you want the canonical installation walkthrough straight from the source, Ubuntu’s official installer documentation covers the standard installer screen by screen.