Installing Ubuntu for the first time is simpler than most people expect. The entire process — from downloading the ISO file to logging into your new desktop — takes under thirty minutes on modern hardware. This guide walks through every step in detail so you can follow along even if you have never installed an operating system before.
What you need before starting
Before you begin, gather the following:
- A computer with at least 4GB of RAM and 25GB of free disk space
- A USB drive with at least 8GB of capacity (its contents will be erased)
- An internet connection to download the Ubuntu ISO
- About 30 minutes of uninterrupted time
If you plan to keep Windows and install Ubuntu alongside it (called dual boot), make sure your Windows partition has enough free space to shrink. You need at least 25GB to give Ubuntu, though 50GB or more is more comfortable. You can check available space in Windows Disk Management.
It is also strongly recommended to back up any important personal files before proceeding. While the dual-boot installation process is designed to preserve your Windows installation, hardware failures and unexpected power cuts during disk partitioning can cause data loss. A backup eliminates this risk entirely.
Step 1: Download the Ubuntu 24.04 ISO
Visit the official Ubuntu website at ubuntu.com and navigate to the download page. Select Ubuntu 24.04 LTS — the “LTS” stands for Long Term Support, meaning this version receives security updates until 2029.
The ISO file is approximately 5 GB. Downloading over a fast connection takes around ten minutes; on a slower connection, plan for longer. The website also provides a checksum (SHA256 hash) that you can use to verify the download is not corrupted. While optional, verifying the checksum is good practice before creating a bootable USB.
Step 2: Create a bootable USB drive
A plain ISO file is not enough — you need to write it to the USB drive in a way that makes the drive bootable. Regular file copying will not work.
On Windows, use Rufus (rufus.ie — free and widely trusted):
- Plug in your USB drive
- Open Rufus — it detects your USB drive automatically
- Click “SELECT” and choose the Ubuntu ISO file you downloaded
- Leave all other settings at their defaults
- Click “START” and confirm when warned that the drive will be erased
- Wait for the process to finish (usually 5-10 minutes)
On macOS, use Etcher (etcher.balena.io):
- Download and open Etcher
- Click “Flash from file” and select the Ubuntu ISO
- Click “Select target” and choose your USB drive
- Click “Flash!” and enter your password when prompted
On Linux, you can use Etcher, or the Disk Image Writer application, or the dd command if you are comfortable with the terminal.
Once the process finishes, safely eject the USB drive. It is now ready to boot.
Step 3: Boot from your USB drive
To boot from the USB drive, you need to access your computer’s boot menu during startup. This is done by pressing a specific key immediately after turning on or restarting your computer — before Windows loads.
The key varies by manufacturer:
- Dell: F12
- HP: F9 or Esc then F9
- Lenovo: F12
- ASUS: F8 or F2 then Boot menu
- Acer: F12
- Apple Mac: Hold Option key
If you are not sure which key to use, search for your computer model plus “boot menu key” — or simply try F12, which works on most modern computers.
When the boot menu appears, select your USB drive (it may be listed as “USB”, “Removable Device”, or by the brand name of your USB drive). Press Enter to confirm.
Your computer will load the Ubuntu startup screen. This may take a minute as the system loads from USB.
Step 4: Start the Ubuntu installer
When Ubuntu finishes loading from the USB drive, you arrive at a welcome screen. You have two choices:
- Try Ubuntu — runs Ubuntu without installing it, so you can explore the interface and test hardware compatibility
- Install Ubuntu — begins the installation process immediately
It is worth spending a few minutes in “Try Ubuntu” first. Test that your Wi-Fi connects, your display looks correct, and your keyboard and touchpad work. This confirms your hardware is compatible before you commit to installation.
When ready, click “Install Ubuntu” either from the desktop or the welcome screen.
Step 5: Choose your installation type
The installer presents several screens. The first asks about language and keyboard layout — select yours and continue.
Next comes the network connection screen. Connect to Wi-Fi if prompted. Connecting during installation allows Ubuntu to download updates and language packs while installing, which saves time later.
The installer then asks what kind of installation you want:
- Normal installation: Includes a web browser, office suite, media players, and basic productivity software. Recommended for most users.
- Minimal installation: Installs only the core system and web browser. You add software yourself afterward. Good for advanced users who know what they want.
Below these options, you will also see checkboxes for:
- Install third-party software for graphics and Wi-Fi hardware: Check this. It installs proprietary drivers that improve compatibility with many graphics cards and Wi-Fi adapters.
- Download updates while installing Ubuntu: Check this if connected to the internet.
Step 6: Choose your installation type (disk)
This is the most important screen in the installation process. Ubuntu asks where to install itself.
Option A: Erase disk and install Ubuntu
This deletes everything on the disk and installs Ubuntu as the only operating system. Choose this if you want a fresh start with no other operating system, or if the computer has no important data.
Option B: Install Ubuntu alongside Windows Boot Manager
This is the dual-boot option. Ubuntu detects your existing Windows installation and offers to shrink it to make room. A slider lets you adjust how much space each system gets. This is the safest choice if you want to keep Windows. For more on dual booting, see our guide on how to dual boot Linux and Windows.
Option C: Something else (manual partitioning)
This option lets you create partitions manually. It is not recommended for beginners — the automatic options handle partitioning correctly.
Select the option appropriate for your situation and click “Install Now”. Ubuntu will display a summary of the changes it will make to your disk. Review it carefully and click “Continue” to confirm.
Step 7: Set your location and keyboard
After confirming the disk changes, the installer asks two quick questions:
-
Where are you? — Click on the map or type your city name to set your time zone. Ubuntu uses this to set the system clock correctly.
-
Keyboard layout — Ubuntu usually detects this automatically. If not, select your country and then the specific layout variant.
Step 8: Create your user account
The final configuration screen asks for your personal information:
- Your name: Your full name, used in the login screen and user profile
- Your computer’s name: A hostname for identifying your machine on the network (e.g., “my-laptop”)
- Username: The short username for your account — use only lowercase letters and no spaces
- Password: Choose a strong password — you will use this to log in and when using
sudo - Confirm password: Type it again to verify
You also choose whether to:
- Require password to log in: Recommended for security
- Log in automatically: Convenient for a personal computer at home with no security concerns
Click “Continue” when done.
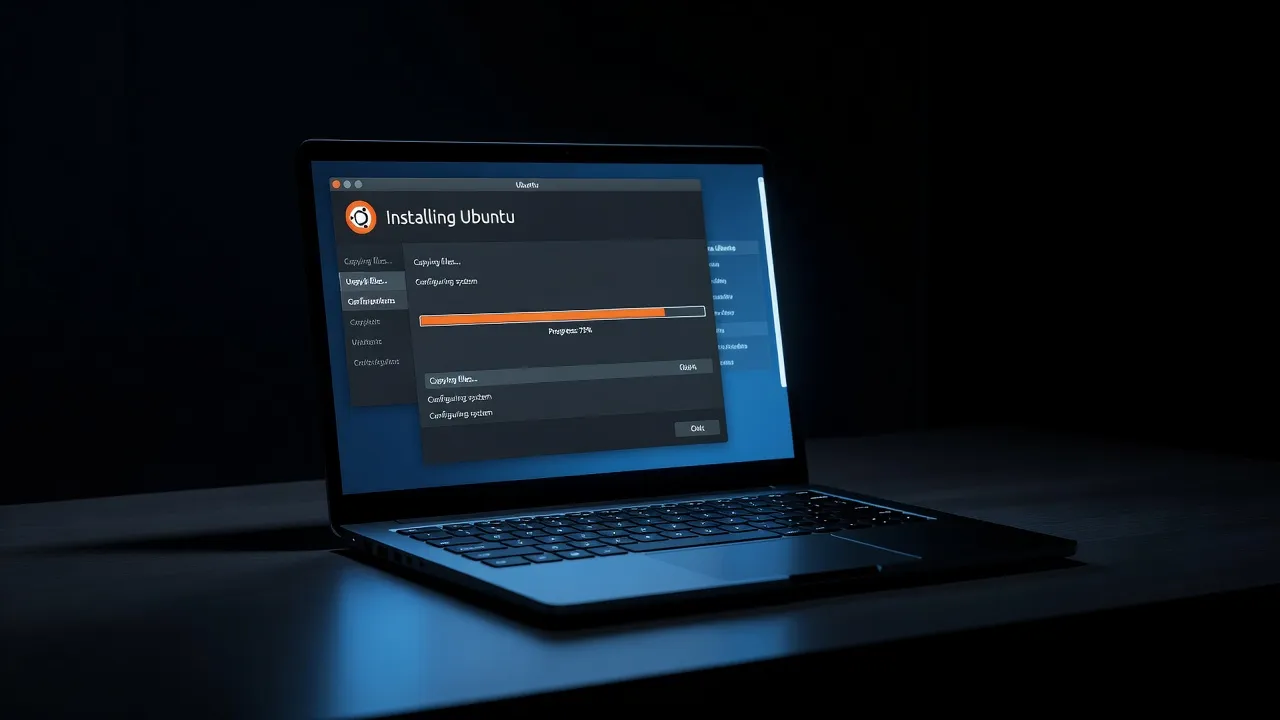
Step 9: Wait for installation to complete
Ubuntu now installs itself. A progress bar shows the current stage. You will see it:
- Copy system files
- Install software packages
- Configure the bootloader
- Apply updates (if downloading during installation)
On an SSD, this takes about 10-15 minutes. On a traditional hard drive, 20-30 minutes. You can watch the progress screen, which shows photos and brief descriptions of Ubuntu features while you wait.
When installation finishes, a dialog appears asking you to remove the USB drive and restart. Remove the USB drive and click “Restart Now”.
Your computer will reboot. If you installed alongside Windows, GRUB (the boot menu) appears automatically, letting you choose between Ubuntu and Windows on each startup.
First steps after installation
When Ubuntu boots for the first time, a welcome application launches. It guides you through:
- Connecting to online accounts (optional — Google, Microsoft, etc.)
- Setting up privacy settings
- Configuring location services
- Installing any available software updates
The most important first action is to run system updates. Open a terminal (Ctrl+Alt+T) and run:
sudo apt update && sudo apt upgradeEnter your password when prompted. This downloads and installs any security patches and software updates available since the ISO was created.
Next, explore the Ubuntu Software Center to install any applications you need. Common first installs include VLC for video playback, GIMP for image editing, and additional fonts or themes.
You are now running Ubuntu. The introduction to the Linux terminal is a great next step if you want to start learning the command line.