
The Linux terminal looks intimidating the first time you open it. A blinking cursor, no guidance, no buttons. For most beginners the reaction is to close it immediately and go back to clicking through menus.
Then at some point you need it. You run one command, it works, and something shifts. You start reaching for the terminal instead of avoiding it.
These ten tricks accelerate that process considerably. Each one is genuinely useful from day one, and each one reveals something true about how the terminal — and Linux itself — actually works.
Trick 1: Tab Completion — Let the Shell Do the Typing
Press Tab after typing the beginning of any filename, directory name, or command. If there’s only one match, the shell completes it. If there are multiple matches, press Tab twice to see all options.
# Instead of typing this in full:
cd /home/username/Documents/Projects/website/

# Type this and press Tab at each /
cd /h[Tab]/u[Tab]/D[Tab]/P[Tab]/w[Tab]/
Tab completion works for commands too:
sys[Tab] # Shows: systemctl, systemd-analyze, sysstat...This isn’t just a convenience — it prevents typos in filenames, confirms that files exist before you try to use them, and saves cumulative minutes every day.
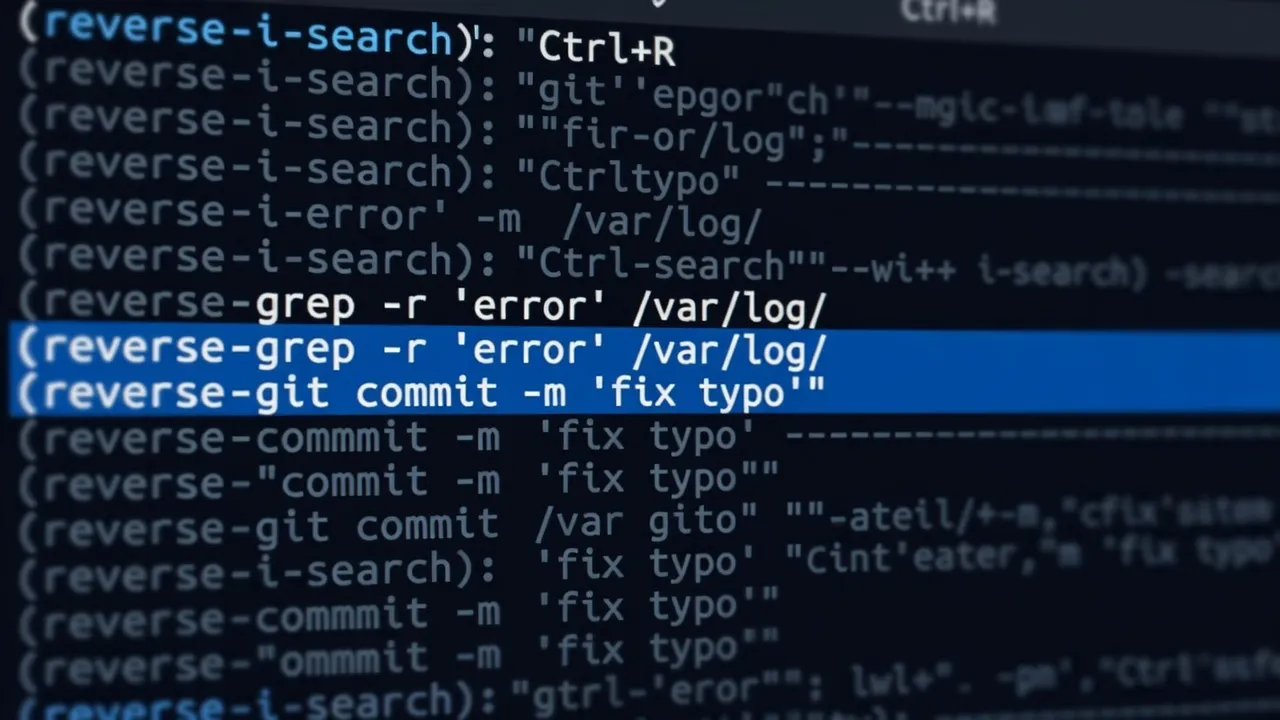
Trick 2: Ctrl+R — Search Your Command History
Every command you’ve run is saved in your shell history. Ctrl+R opens a reverse search through that history.
# Press Ctrl+R, then type part of a command:
(reverse-i-search)`apt': sudo apt update && sudo apt upgrade
Press Ctrl+R again to cycle through older matches. Press Enter to run the found command, or right arrow to place it on the command line for editing first.
If you ran a complex command three days ago and can’t remember the exact flags, Ctrl+R finds it in seconds. This alone replaces a large number of “what was that command again?” moments. If you’re just getting started with the terminal, our introduction to the Linux terminal covers foundational concepts before tricks like these become relevant.
Trick 3: !! and !$ — Reference Your Last Command
!! expands to your entire last command. !$ expands to the last argument of your last command.
# You ran a command that requires sudo but forgot:
apt install vim
# Error: permission denied

# Fix it instantly:
sudo !!
# Equivalent to: sudo apt install vim
# You created a directory and now want to enter it:
mkdir -p /home/user/projects/newsite
cd !$
# Equivalent to: cd /home/user/projects/newsiteThese look cryptic but become instinctive quickly. sudo !! in particular is one of the most-used shortcuts among experienced Linux users.
Trick 4: Pipes and Redirection — Chain Commands Together
The pipe (|) passes the output of one command as input to another. Redirection (>, >>) sends output to a file.
# Find which files in a directory are larger than 100MB:
ls -lh | grep -E '[0-9]+M'
# Count how many .md files are in a directory tree:
find . -name "*.md" | wc -l
# Save the output of a command to a file:
sudo dmesg > system-boot.log
# Append to an existing file (don't overwrite):
echo "New entry" >> notes.txt
# Send both standard output AND errors to a file:
command > output.txt 2>&1Pipes are the fundamental building block of “doing complicated things with simple tools” — a core Linux philosophy. Once you understand pipes, you can combine any two commands into a more powerful operation.
Trick 5: && and || — Conditional Command Chaining
&& runs the second command only if the first succeeds (exit code 0). || runs the second command only if the first fails.
# Update package lists AND upgrade only if update succeeded:
sudo apt update && sudo apt upgrade

# Try to create a directory, warn if it already exists:
mkdir newdir || echo "Directory already exists"

# Chain multiple commands — each runs only if the previous succeeded:
git pull && npm install && npm run build && echo "Deploy ready"
This is how system scripts handle errors gracefully. Instead of blindly running commands in sequence and hoping nothing breaks, && chains build in automatic error handling.
Trick 6: Aliases — Rename Commands to What Makes Sense to You
An alias is a custom shorthand for a command. Aliases live in your ~/.bashrc file and load automatically every time you open a terminal.
# Add these to ~/.bashrc:
alias ll='ls -la --color=auto'
alias la='ls -A'
alias ..='cd ..'
alias ...='cd ../..'
alias gs='git status'
alias gp='git push'
alias update='sudo apt update && sudo apt upgrade -y'

# After editing .bashrc, reload it:
source ~/.bashrc
Now ll shows a full directory listing, .. goes up one directory, and update runs your full system update in one word. For the complete list of commands worth knowing, see our 50 essential Linux commands guide.
Aliases also fix common typos:
alias gti='git'
alias sl='ls'
Trick 7: tmux — Survive Disconnections and Multitask
tmux is a terminal multiplexer. It creates persistent terminal sessions that survive if your SSH connection drops, and lets you split one terminal window into multiple panes.
# Install tmux:
sudo apt install tmux

# Start a named session:
tmux new -s main

# Detach from a session (keeps it running):
Ctrl+B, then D

# Reattach to the running session:
tmux attach -t main

# Split pane horizontally:
Ctrl+B, then "

# Split pane vertically:
Ctrl+B, then %

# Move between panes:
Ctrl+B, then arrow keys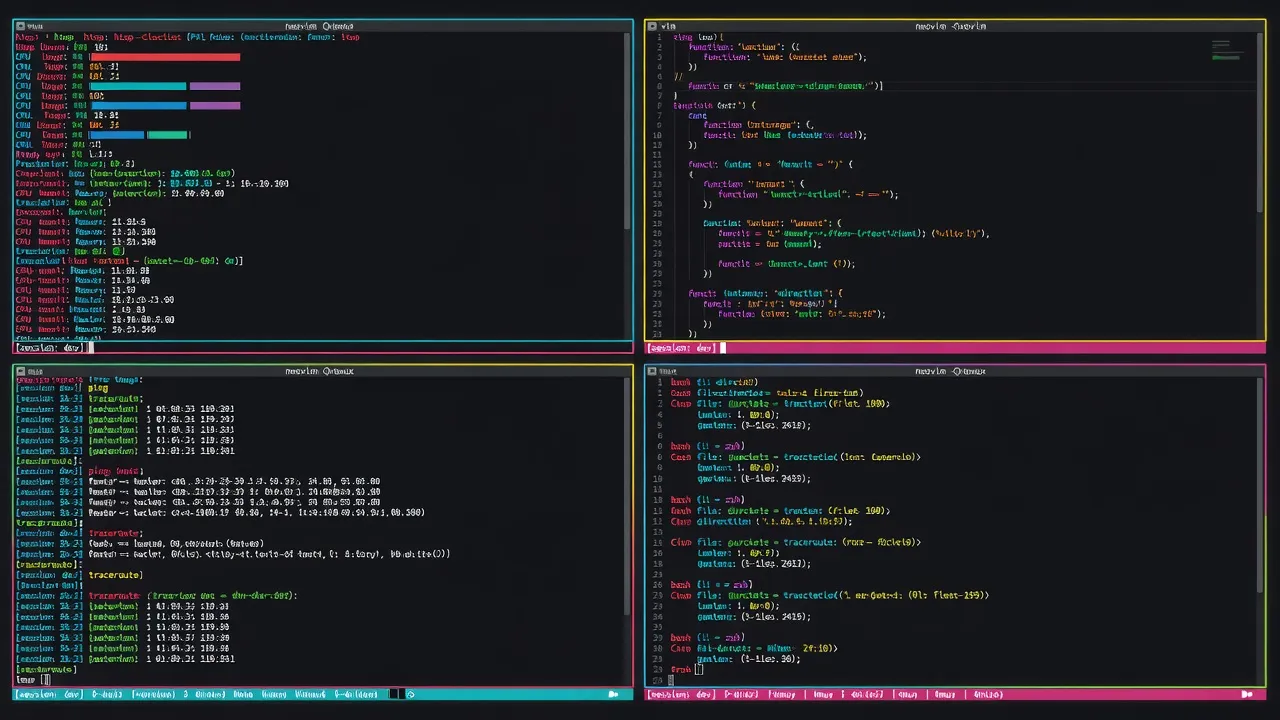
If you work on remote servers, tmux is essential. If you run a long process (a build, a download, a conversion) and the connection drops, tmux keeps it running. You reconnect and find everything exactly where you left it.
Trick 8: xargs — Build Commands from Input
xargs reads lines from standard input and turns them into arguments for another command.
# Delete all .log files in the current directory and subdirectories:
find . -name "*.log" | xargs rm

# Run grep on all files returned by find:
find . -name "*.md" | xargs grep "TODO"

# Process files with spaces in their names (use -0 with find's -print0):
find . -name "*.mp4" -print0 | xargs -0 -I{} ffmpeg -i {} -c:a mp3 {}.mp3
xargs solves the problem of “I have a list of things and I want to do something to each of them.” It’s the glue between the command that produces a list and the command that processes items one by one.
Trick 9: watch — Repeat a Command Automatically
watch runs a command repeatedly at a specified interval and displays the output, refreshing in place.
# Update every 2 seconds (default):
watch df -h

# Update every 5 seconds:
watch -n 5 free -h

# Highlight changes between updates:
watch -d 'ls -la /var/log/'

# Watch a network interface:
watch -n 1 'ip -s link show eth0'
Useful for monitoring disk usage during a large file copy, watching memory consumption during a process, or tracking log file growth. watch turns any command into a live dashboard with no extra tools required.
Trick 10: curl One-Liners — The Terminal Swiss Army Knife
curl fetches URLs from the command line, but it’s far more than a download tool.
# Check that a web server is responding and see its headers:
curl -sI https://example.com

# Download a file with a progress bar:
curl -# -O https://example.com/file.tar.gz

# Test an API endpoint:
curl -s https://api.github.com/users/torvalds | python3 -m json.tool

# Test with custom headers:
curl -H "Authorization: Bearer TOKEN" https://api.example.com/data

# POST JSON data:
curl -X POST -H "Content-Type: application/json" \
  -d '{"key":"value"}' https://api.example.com/endpoint

# Check HTTP response code only:
curl -sI -o /dev/null -w "%{http_code}" https://example.com
Modern developers and sysadmins use curl to test APIs, verify redirects, check server response times, and download files reliably. These terminal tools appear throughout professional development workflows — industrie-du-futur.tv offers interesting coverage of how modern developers use terminal tools in professional workflows, including CI/CD pipelines where curl is fundamental.
Building Your Terminal Muscle Memory
These ten tricks don’t require memorization. They require repetition.
Start with Tab completion and Ctrl+R — use them every single time instead of typing in full or scrolling through history. Within a week they’ll be automatic. Add one alias every few days. Try tmux the next time you’re working on a remote machine.
The terminal rewards patience. Each trick you internalize permanently reduces friction in everything you do on Linux. The goal isn’t to become a command-line wizard — it’s to build enough fluency that the terminal is a tool you reach for confidently, not one you avoid. Once you’re comfortable here, Linux file permissions are the natural next concept to explore.