A Linux machine that won’t boot looks terrifying the first time it happens — a black screen, a cryptic prompt, or a wall of text scrolling by with no obvious next step. In almost every case, though, the fix is well understood and doesn’t require reinstalling anything. This guide walks through the boot failures that actually happen in practice, in the order you should check them, with the specific commands that fix each one.
Why Linux Boot Failures Look Scarier Than They Usually Are
Boot failures feel catastrophic because they happen before you have any graphical interface to work with — just a terminal prompt, or nothing at all. But the vast majority of Linux boot problems fall into a small number of well-documented categories:
- A bootloader (GRUB) configuration problem — the system itself is fine, GRUB just can’t find it
- A kernel or driver issue — usually fixable by booting an older, known-good kernel
- A file system check failure — usually fixable with
fsckfrom a live environment - A graphics driver conflict — usually fixable with a boot parameter or driver rollback
None of these typically mean your data is lost or that a reinstall is necessary. The key skill is correctly identifying which category you’re in, which the sections below walk through one at a time. If you’re new to how Linux organizes its own storage — which partition holds what, and why that matters for troubleshooting — our guide to understanding the Linux file system is worth reading alongside this one, since several of the fixes below assume a basic sense of where /boot, /, and /home live.
Tip: Before troubleshooting anything, write down or photograph the exact error message you see. “It didn’t boot” narrows nothing down; “error: no such partition. Entering rescue mode” tells you precisely which section of this guide to jump to.
First Steps: What to Check Before Panicking
Before diving into fixes, take these steps in order:
- Note the exact error text — GRUB errors, kernel panic messages, and fsck failures all look different and point to different fixes.
- Check if the failure is new — did it start right after a system update, a new hardware addition, or a power loss during shutdown? This context usually points directly to the cause.
- Confirm you have a live USB available — a live USB of any recent Linux distribution is the single most useful troubleshooting tool for boot problems, since it lets you access your files and repair tools without needing the broken system to boot.
- Resist the urge to reinstall immediately — nearly everything covered in this guide is fixable in place, and reinstalling is rarely necessary even when it feels like the fastest option.
- Keep basic command-line familiarity handy — nearly every fix below runs from a terminal on a live USB, so a quick refresher of commands like
lsblk,mount, andchroot(covered in our 50 essential Linux commands guide) pays off well beyond just boot troubleshooting.
It’s also worth distinguishing boot failures that happen on a fresh, single-OS Linux install from those on a dual-boot system alongside Windows — the second category has an extra set of causes (Windows Boot Manager conflicts, BitLocker, fast startup) covered specifically further down.
Fixing GRUB Rescue Mode
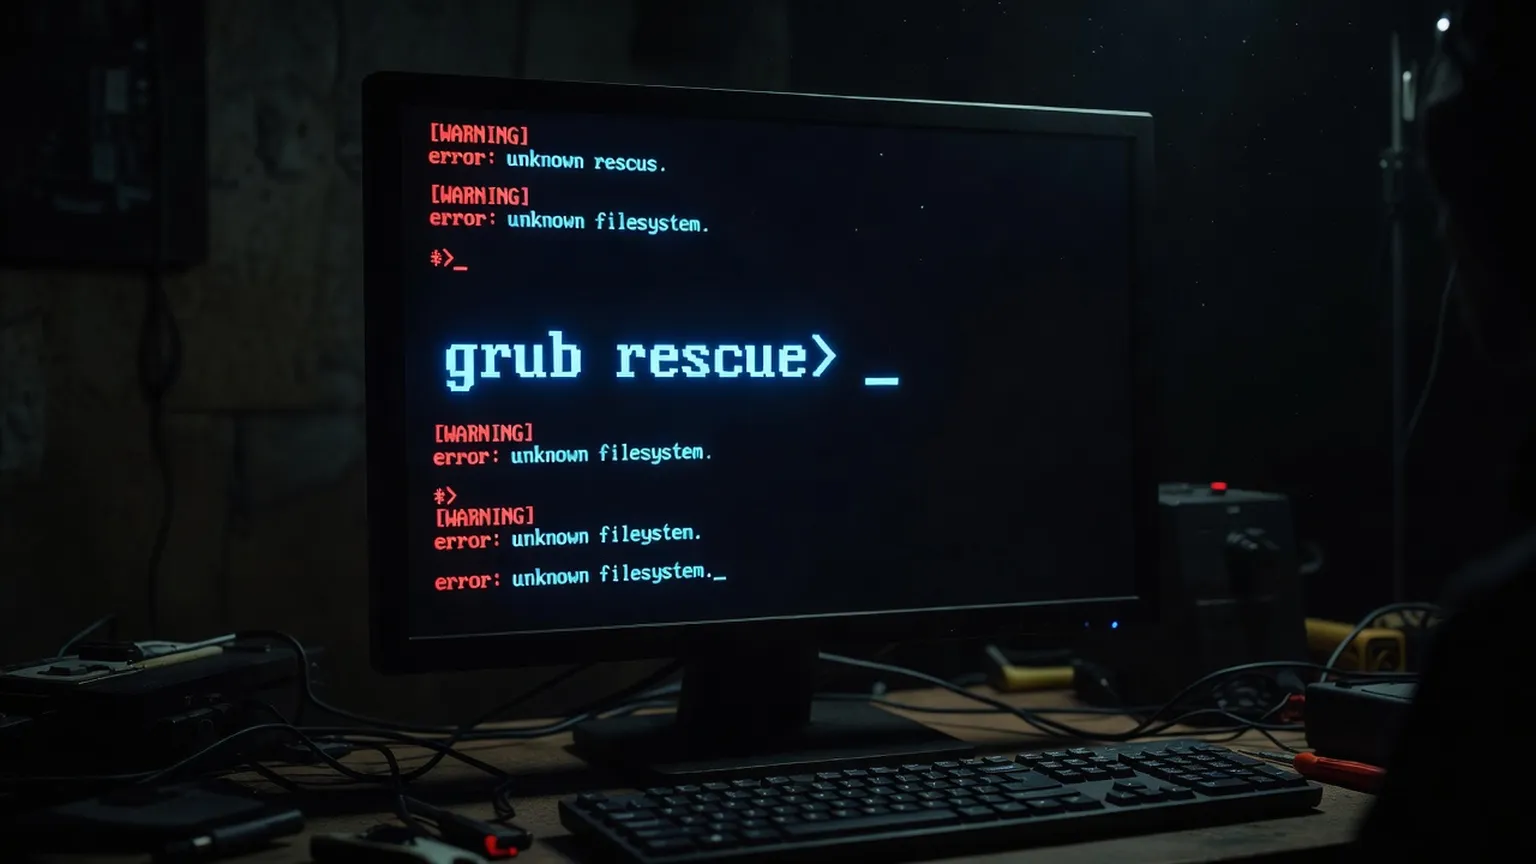
The grub rescue> prompt is one of the most common — and most alarming-looking — Linux boot failures. It means GRUB itself loaded, but it can’t locate its configuration file or boot partition. Common causes:
- A Windows update overwrote the bootloader (especially relevant after dual-boot setups)
- A partition was resized or moved, changing the UUID GRUB expects
- The boot partition was accidentally deleted or reformatted
Fix using a live USB:
- Boot from a live USB of your distribution.
- Identify your Linux partition with
sudo fdisk -lorlsblk. - Mount it:
sudo mount /dev/sdXY /mnt(replacesdXYwith your actual partition). - If you have a separate
/bootpartition, mount it too, along with/dev,/proc, and/sysfor a chroot environment. - Chroot into the system:
sudo chroot /mnt. - Reinstall GRUB:
grub-install /dev/sdX(the whole disk, not the partition), thenupdate-grub. - Exit the chroot, unmount, and reboot.
Most live USB environments for major distributions also offer a graphical Boot Repair tool that automates this entire sequence — worth trying first if you’re not comfortable with the manual chroot process.
Diagnosing Kernel Panics
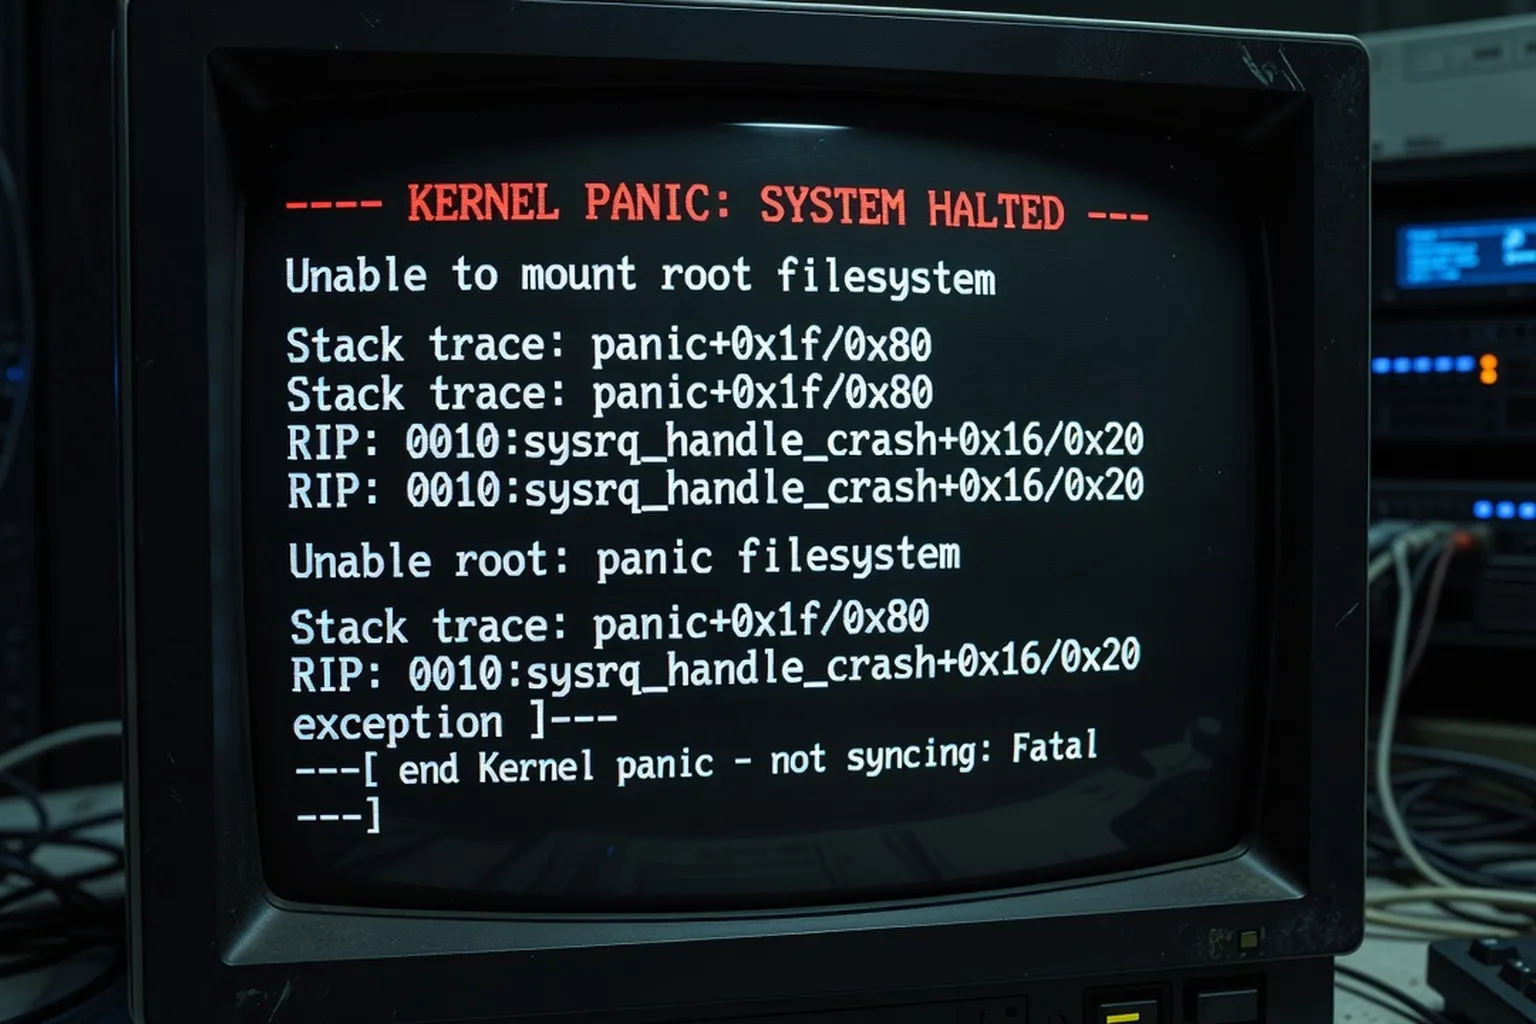
A kernel panic is the Linux kernel detecting an unrecoverable internal error and halting rather than continuing in a potentially corrupted state. It typically shows a wall of technical text ending in something like Kernel panic - not syncing.
Common causes, roughly in order of likelihood:
| Cause | How to identify it | Fix |
|---|---|---|
| Bad kernel update | Panic started right after a system update | Boot an older kernel from the GRUB menu (Advanced Options) |
| Failing RAM | Panics are intermittent, sometimes with different error text each time | Run memtest86+ from the GRUB menu or a live USB |
| Failing disk | Panic mentions I/O errors or the disk is old | Boot live USB, check health with sudo smartctl -a /dev/sda |
| Incompatible driver/module | Panic occurs consistently after adding new hardware | Boot with the driver blacklisted, or boot an older kernel |
Recovery steps:
- At the GRUB menu, select Advanced options for [your distribution].
- Choose the previous kernel version listed (Linux keeps several installed by default).
- If that boots successfully, the newest kernel or its associated driver is the likely cause — hold off on updating further until you’ve identified the specific package involved.
- If no kernel version boots, the issue is more likely hardware-related — proceed to a live USB and run
memtest86+andsmartctlto rule out RAM and disk failures.
Black Screen After Boot: Graphics Driver Issues
If GRUB appears and you select your system, but the screen goes black instead of showing a login screen or desktop, this is almost always a graphics driver problem — most commonly with proprietary NVIDIA drivers after a kernel update broke compatibility.
Quick diagnostic and fix:
- At the GRUB menu, highlight your kernel entry and press
eto edit boot parameters temporarily. - Find the line starting with
linuxand addnomodesetat the end. - Press
Ctrl+XorF10to boot with this temporary parameter. - If the system now boots to a desktop, the graphics driver is confirmed as the cause.
- Once booted, update or reinstall the graphics driver through your distribution’s driver manager, or temporarily switch to the open-source driver (
nouveaufor NVIDIA) until the proprietary driver issue is resolved.
Warning:
nomodesetdisables hardware-accelerated graphics mode-setting and is meant as a temporary diagnostic step, not a permanent fix. Performance and screen resolution will be limited while it’s active — remove it from your permanent GRUB configuration once the underlying driver issue is resolved.
Fixing Failed fsck Disk Checks
fsck (file system check) normally runs automatically after an unclean shutdown — a power loss, a hard reset, or a crash. When it fails to complete automatically, you’ll usually see a prompt asking you to run it manually, or the boot process will simply hang.
To fix it:
- Boot from a live USB rather than trying to run
fsckon a partition that’s currently mounted as your active system (runningfsckon a mounted partition can make things worse). - Identify the affected partition with
lsblkorsudo fdisk -l. - Make sure it’s not mounted:
sudo umount /dev/sdXYif needed. - Run the check:
sudo fsck -y /dev/sdXY(the-yflag automatically answers yes to repair prompts — appropriate here since you’re specifically trying to fix errors).
If fsck reports permission-related errors on specific files rather than structural disk issues, the problem may not be the file system itself but the file permissions on top of it — worth ruling out before assuming disk damage.
5. Reboot normally once it completes.
If fsck reports it fixed multiple errors and this keeps recurring across reboots, that’s usually a sign of a failing drive rather than a one-off file system inconsistency — check its health with smartctl as covered in the kernel panic section above.
A related and often confusing variant is the automatic fsck prompt that gives you a countdown before dropping into “maintenance mode” or an emergency shell. If you land in an emergency shell with a prompt like (or press Control-D to continue), this is Linux explicitly asking you to run the repair manually rather than proceeding with a potentially inconsistent file system — it’s a safety measure, not a separate failure. Run the fsck command shown in the on-screen message (it usually tells you the exact partition), then reboot normally once it completes without further errors.
Preventing repeated fsck failures going forward:
- Always use your desktop environment’s shutdown option rather than holding the power button, except in genuine emergencies.
- On laptops specifically, make sure suspend/hibernate is configured correctly for your hardware — a laptop that silently loses power while “asleep” due to a misconfigured suspend mode looks identical to an unclean shutdown from the file system’s perspective.
- If unclean shutdowns keep recurring despite normal usage, that’s itself a symptom worth investigating — check
dmesgandjournalctl -b -1(logs from the previous boot) for clues about what’s actually causing the unexpected power loss.
Boot Failures After a Dual-Boot Windows Update
If you dual boot Linux and Windows, a Windows feature update occasionally overwrites the boot partition or resets the boot order, causing your system to skip straight to Windows or land in GRUB rescue mode.
- Symptom: system boots straight to Windows, GRUB menu is gone entirely. Enter your UEFI/BIOS boot menu and check whether your Linux distribution’s boot entry still exists in the boot order — it’s often just been deprioritized, not deleted.
- Symptom: GRUB rescue prompt after a Windows update. Follow the GRUB rescue fix above; this is functionally the same issue as any other GRUB configuration problem, just triggered by Windows rather than a Linux-side change.
- Prevention: after any major Windows update on a dual-boot system, boot into Linux once and run
sudo update-grubas a routine precaution — this refreshes GRUB’s awareness of the Windows Boot Manager’s current location.
Using a Live USB as Your Recovery Toolkit
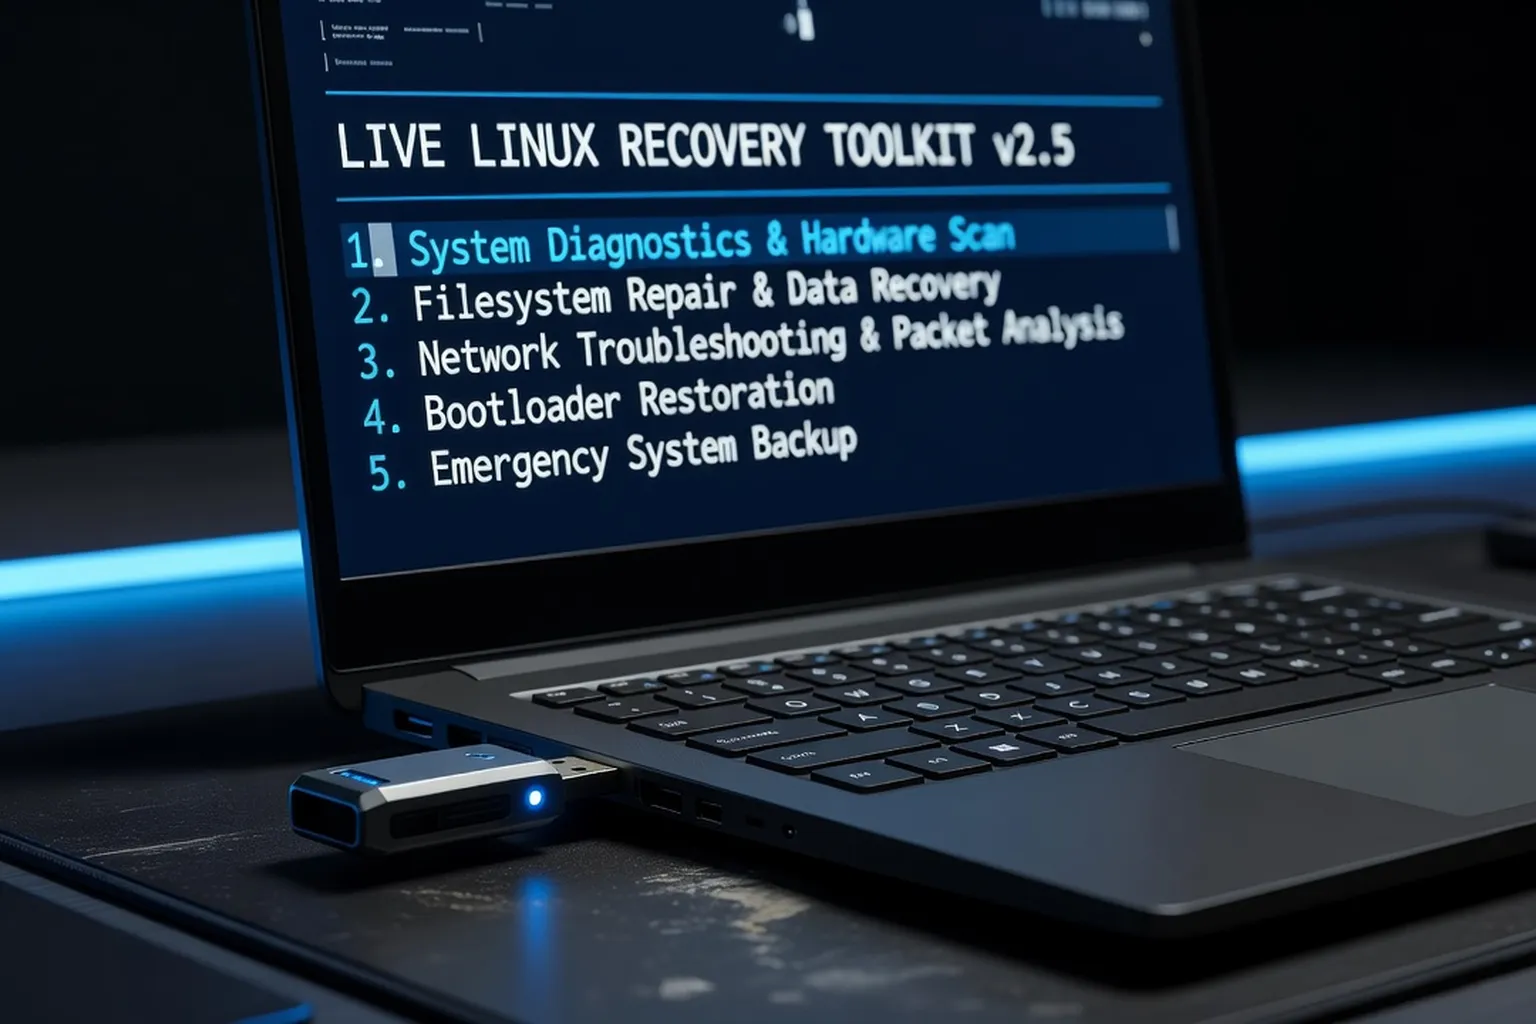
A live USB isn’t just for installing Linux — it’s the single most valuable tool for every fix in this guide. Keep one prepared and up to date:
- Choose a live USB of the same distribution and roughly the same version as your installed system, for maximum tool compatibility.
- Store it somewhere you’ll actually remember when something breaks — not buried in a drawer.
- Test that it boots successfully on your specific hardware before you need it in an emergency, not during one.
- Keep note of basic commands (
lsblk,chroot,fsck,grub-install) somewhere accessible, since you won’t have internet search readily available mid-recovery on some setups.
Restoring From a Timeshift Snapshot
If you’ve been taking Timeshift snapshots (strongly recommended before major updates), a broken boot is often the fastest possible fix of all — faster than diagnosing the root cause:
- Boot from a live USB.
- Install Timeshift if it isn’t already on the live environment, or use the version already installed on your affected system by chrooting into it.
- Open Timeshift and select the most recent snapshot taken before the problem started.
- Restore the snapshot — this reverts system files (not personal files in
/home, depending on your snapshot configuration) to the working state. - Reboot normally.
This is precisely why setting up scheduled snapshots is worth the five minutes it takes — see our full guide on Linux backup solutions with rsync and Timeshift for how to configure this once and stop worrying about it.
Preventing Future Boot Problems
A short list of habits that prevent the large majority of the failures covered in this guide:
- Take a Timeshift snapshot before major system or kernel updates. This alone turns most boot failures into a five-minute restore instead of an hours-long troubleshooting session.
- Never interrupt an update mid-installation — a forced shutdown during a kernel or bootloader update is one of the most common causes of GRUB corruption.
- Check disk health periodically with
smartctl, especially on machines more than a few years old, so failing hardware is caught before it causes a boot failure. - Keep a live USB current and tested, so it’s ready when — not if — you eventually need it.
- Understand your own partition layout — knowing where
/boot,/, and/homelive makes every fix in this guide faster, since you won’t be guessing atlsblkoutput under pressure.
Boot failures are one of the most stressful-feeling Linux problems precisely because they happen before you have any interface to work with. But as this guide shows, the actual list of causes is short, well documented, and fixable in place in nearly every case — reinstalling from scratch is very rarely the right first move.
A Quick Reference for the Next Time This Happens
Bookmark this summary for the moment you actually need it, when reading a long guide top to bottom isn’t practical:
| Symptom | Most likely cause | First thing to try |
|---|---|---|
grub rescue> prompt | GRUB lost its configuration or boot partition | Live USB, os-prober + update-grub, or Boot Repair tool |
| Wall of text ending in “Kernel panic” | Bad kernel update, failing RAM, or failing disk | Boot previous kernel from GRUB Advanced Options |
| Black screen after GRUB menu | Graphics driver conflict | Add nomodeset boot parameter temporarily |
| Automatic fsck prompt fails | File system inconsistency after unclean shutdown | Live USB, unmount partition, run fsck -y manually |
| Boots straight to Windows, no GRUB | Windows update changed UEFI boot order | Check boot order in UEFI/BIOS settings |
Keeping this table in mind — or better, keeping a tested live USB within reach — turns most of these situations from a stressful unknown into a five-to-fifteen-minute fix.
For a deeper technical comparison of how snapshot-capable file systems change recovery from boot failures entirely, how snapshot-based filesystems make recovery from boot failures easier on freebsd-howto.com covers the ZFS approach in detail — concepts that parallel what Btrfs and Timeshift aim to provide on Linux. And for an official reference on boot troubleshooting specifically, the official Debian reference documentation on boot and system recovery is a solid technical resource that applies conceptually across most Debian-based distributions.