
Most successful attacks against home Linux servers don’t involve zero-day exploits or sophisticated techniques. They involve a server with password SSH login left on, no firewall, and no updates for eight months. This checklist covers the hardening steps that actually stop real-world attacks — in the order that gives you the most protection for the least effort.
None of this requires advanced security expertise. It requires about thirty minutes and a willingness to follow through on each step rather than stopping after the first one.
Why basic hardening stops most real-world attacks
The internet is constantly scanned by automated bots looking for exposed SSH ports with weak passwords, outdated software with known vulnerabilities, and default configurations that were never changed. If your server’s public IP address exists, it is being probed — usually within hours of going online.
The uncomfortable truth about home servers: attackers are rarely targeting you specifically. They’re running automated scans against entire IP ranges, looking for the easiest targets. Basic hardening doesn’t need to make you unhackable — it needs to make your server not the easiest target on the scan, which stops the overwhelming majority of opportunistic attacks.
The good news: the steps below address the misconfigurations attackers actually exploit, not theoretical edge cases. Applied together, they close off nearly every automated attack vector a home server faces.
Step 1: Disable password SSH, use key-based authentication
Password-based SSH is the single most exploited weakness on home servers. Automated bots run continuous brute-force attempts against port 22 on every public IP address, trying common username/password combinations.
Generate a key pair on your local machine, copy the public key to your server, then disable password authentication entirely:
ssh-keygen -t ed25519 -C "your-email@example.com"
ssh-copy-id user@your-server-ip
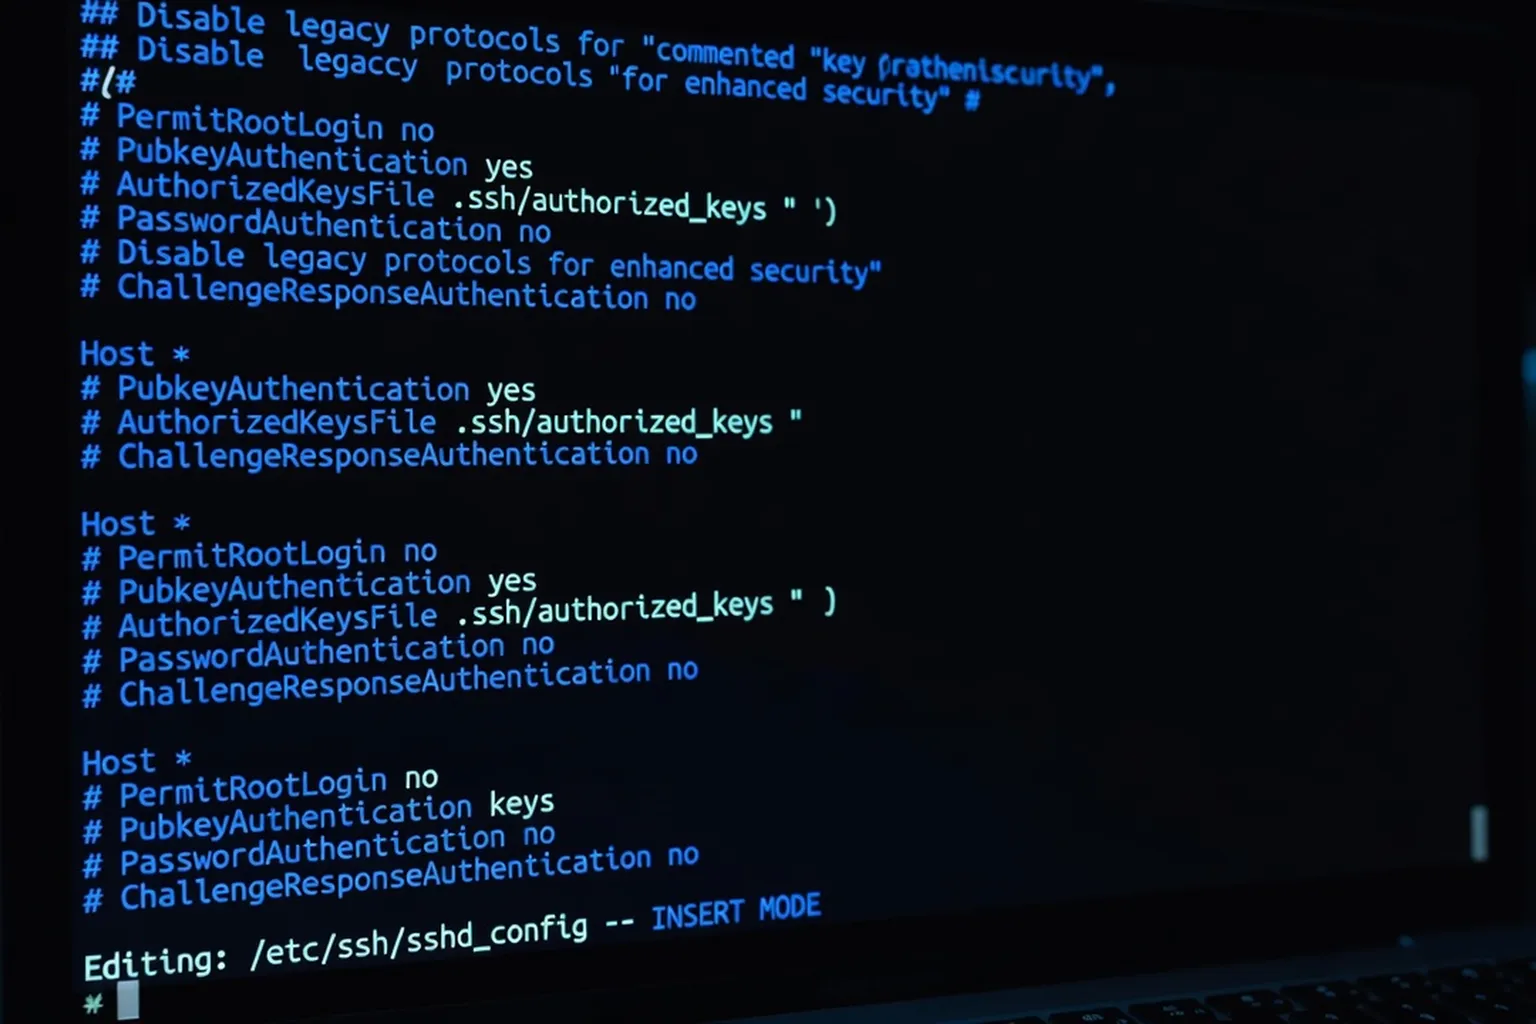
Then edit /etc/ssh/sshd_config and set:
PasswordAuthentication no
PermitRootLogin no
Restart the SSH service (sudo systemctl restart sshd) and test your key-based login in a second terminal window before closing your first session — locking yourself out of a remote server is a common and entirely avoidable mistake.
Step 2: Configure a host-level firewall (ufw or nftables)
A router’s NAT provides some protection, but anything you intentionally expose is directly reachable regardless of your router configuration. A host-level firewall is your second layer of defense and should default to denying everything except what you explicitly need.
On Ubuntu or Debian, ufw (Uncomplicated Firewall) is the simplest option:
sudo ufw default deny incoming
sudo ufw default allow outgoing
sudo ufw allow OpenSSH
sudo ufw enable
Only open additional ports for services you’re actually running:
sudo ufw allow 80/tcpandsudo ufw allow 443/tcpfor a web serversudo ufw allow 51820/udpfor a WireGuard VPN- Nothing else, unless you have a specific documented reason
Our full Linux security basics guide covers firewall configuration, SSH hardening, and update strategy in more depth if you want the complete picture beyond this checklist.
Step 3: Install and configure fail2ban
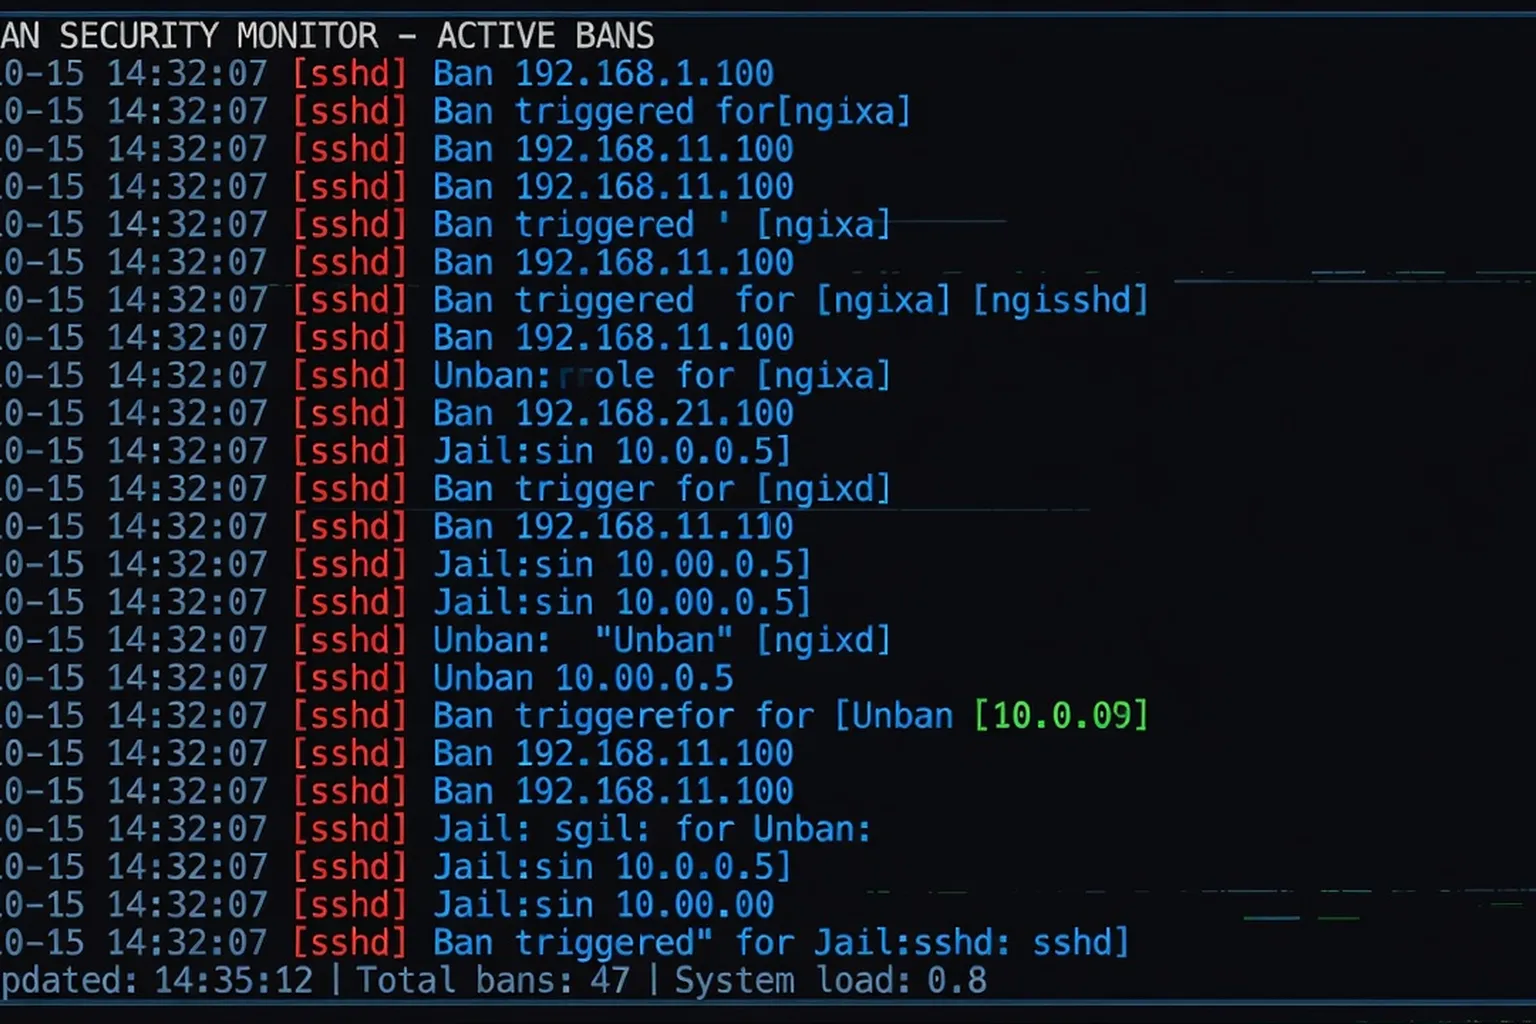
fail2ban monitors log files for repeated failed login attempts and automatically bans offending IP addresses for a configurable period. It’s specifically effective against the automated brute-force scans that constantly probe SSH, and it requires very little ongoing maintenance once set up.
sudo apt install fail2ban
sudo systemctl enable --now fail2ban
The default configuration already protects SSH out of the box. A minimal custom configuration in /etc/fail2ban/jail.local tightens it further:
[sshd]
enabled = true
maxretry = 3
bantime = 3600
findtime = 600
This bans an IP address for one hour after three failed login attempts within ten minutes — aggressive enough to stop brute-force scans without locking out a legitimate user who mistypes a password once or twice.
Step 4: Automate security updates
An unpatched Linux server loses its security advantage quickly. Known vulnerabilities get exploited by automated tools within days of being disclosed, and a server that hasn’t applied a security patch is exposed for exactly as long as it takes an attacker’s scanner to find it.
| Distribution family | Tool | Setup command |
|---|---|---|
| Debian / Ubuntu | unattended-upgrades | sudo apt install unattended-upgrades && sudo dpkg-reconfigure --priority=low unattended-upgrades |
| Fedora / RHEL-based | dnf-automatic | sudo dnf install dnf-automatic && sudo systemctl enable --now dnf-automatic.timer |
| Arch-based | — | No official automatic updater; schedule manual pacman -Syu on a recurring calendar reminder instead |
Automatic security updates should be applied at minimum weekly, ideally continuously. This is the step most self-hosters skip after the initial setup — treat it as part of the hardening checklist, not an optional extra.
Step 5: Limit and audit user accounts and sudo access
Every user account on a server is a potential entry point. Review who has an account and who has sudo access, and remove anything you don’t actively need.
Quick audit commands: cat /etc/passwd | grep -v nologin lists accounts with actual shell access. sudo cat /etc/group | grep sudo (or wheel on Fedora) shows who has administrative privileges. If you don’t recognize an account or don’t remember granting it access, investigate before assuming it’s fine.
A few habits worth adopting:
- Create a dedicated non-root user for daily administration instead of using root directly
- Remove or disable accounts for services or people no longer in use
- Require SSH keys for every account with server access, not just your primary one
- Review
sudogroup membership periodically — access tends to accumulate and rarely gets revoked
Step 6: Change default ports for exposed services
Changing a default port doesn’t make a service secure on its own — it’s not a substitute for the steps above. But it does remove your server from the vast majority of low-effort automated scans that only check default ports, which meaningfully reduces log noise and opportunistic probing.
Changing SSH from port 22 to a non-standard port (for example, 2222) is the most common example:
Port 2222in /etc/ssh/sshd_config, followed by sudo ufw allow 2222/tcp and a firewall rule removal for port 22. This is a minor-effort, minor-benefit step — worth doing, but only after Steps 1 through 5, not instead of them.
Step 7: Set up basic log monitoring
Hardening isn’t a one-time setup — it requires knowing when something unusual happens. You don’t need an enterprise monitoring stack for a home server; a habit of checking key logs is often enough.
A short list of what’s worth checking periodically:
sudo fail2ban-client status sshd— how many IP addresses are currently banned, and does the number look unusually high?journalctl -u ssh --since "1 week ago" | grep -i "failed"— a spike here can indicate targeted attention rather than random scanningsudo ufw status verbose— confirm the firewall rules are still what you expect, especially after any configuration changes- Disk usage and unexpected new files in web-accessible directories, if you’re running a web server
If you’re running mail services on the same server, our guide to spam filtering with Postfix and SpamAssassin covers log patterns specific to mail server abuse, which follows a similar “watch the logs regularly” principle.
Putting it all together: a 30-minute hardening session
If you’re hardening a server for the first time, here’s the realistic order to work through in a single sitting:
| Time | Task |
|---|---|
| 0–10 min | Generate SSH key, copy to server, disable password authentication and root login |
| 10–15 min | Install and enable ufw, set default-deny, allow only required ports |
| 15–20 min | Install fail2ban with the default SSH jail enabled |
| 20–25 min | Enable automatic security updates for your distribution |
| 25–30 min | Review user accounts and sudo group membership |
Every step here reinforces the others — a firewall without fail2ban still logs brute-force noise; fail2ban without SSH key auth is treating a symptom instead of removing the vulnerability. Doing all five together, even quickly, is far more effective than doing one perfectly and skipping the rest.
If you’re setting up a server for the first time rather than hardening an existing one, our guide to setting up a Linux home server covers the initial installation steps this checklist assumes are already done. And before exposing any service to your home network, our Linux networking guide explains the static IP and DNS setup that makes a server reachable and manageable in the first place.
Ongoing habits: what to check monthly
Hardening a server once is necessary but not sufficient — a small monthly routine keeps it that way:
- Confirm automatic updates actually ran and applied (
journalctl -u unattended-upgradesor equivalent) rather than assuming they did - Review
fail2banban counts for unusual spikes that might indicate targeted attention - Check for new user accounts or sudo grants you don’t recognize
- Confirm no new ports have been opened by software you installed and forgot about
- Re-read your firewall rules once a quarter — configurations drift as you add and remove services
Readers wanting to extend these habits beyond the server itself — general PC security practices for the machines you use to connect to it — can also check softaid.net’s guide to securing a PC with free antivirus tools for general PC security habits that complement server hardening. And if you also run BSD systems alongside Linux, freebsd-howto.com’s pf firewall guide walks through a comparable firewall hardening approach on FreeBSD with pf, useful if you’re comparing approaches across platforms.
None of these steps are individually complicated. Applied consistently, together, they close off the misconfigurations that account for the overwhelming majority of successful attacks against home Linux servers.
A quick reference: what to do if you inherit an unhardened server
Sometimes you’re not setting up a fresh server — you’re taking over one that’s been running unmanaged for months or years, whether it’s a family member’s old home server or a box you acquired secondhand. The checklist above still applies, but the order matters slightly differently when a server may already be exposed.
| Priority | Action | Why it comes first |
|---|---|---|
| 1 | Audit existing user accounts and SSH keys | You need to know who currently has access before changing anything else |
| 2 | Check fail2ban or install it immediately | Stops active brute-force attempts while you complete the rest |
| 3 | Review firewall rules for anything unexpectedly open | An inherited server often has forgotten open ports from old projects |
| 4 | Apply all pending updates, then enable automatic updates | Closes any vulnerabilities that accumulated during the unmanaged period |
| 5 | Rotate or replace all SSH keys and passwords | Assume any existing credentials may have been exposed or shared |
Treat an inherited server as if it might already be compromised until proven otherwise — a fresh install is sometimes genuinely faster and safer than trying to audit years of undocumented configuration changes, particularly if you can’t account for every service that’s currently running.
Common mistakes that undo good hardening
A checklist followed carelessly can still leave real gaps. A few patterns worth watching for specifically:
- Reopening ports “temporarily” and forgetting them. A port opened to debug an issue at 11pm has a way of staying open indefinitely. Set yourself a reminder to close it, or better, close it immediately after the debugging session ends.
- Testing SSH key authentication by closing the working session first. Always confirm your new SSH key login works in a second terminal window before closing the session that still has password access — this single habit prevents nearly all self-inflicted lockouts.
- Assuming automatic updates are running without checking. Automatic update tools occasionally fail silently due to a broken package mirror or a held package. Confirm the logs periodically rather than assuming the configuration you set up once is still working months later.
- Treating fail2ban as a complete solution on its own. It’s an excellent second layer, but it doesn’t replace SSH key authentication — a persistent, slow, distributed brute-force attack can sometimes work around ban thresholds if password authentication is still enabled.
Hardening is not a checkbox you tick once. It’s closer to routine maintenance — most of the effort is front-loaded in the initial thirty minutes, but the habits in the final section of this guide are what keep that initial work meaningful six months later.